How To Transplant Hydrangeas In Fall For A Successful
How to Transplant Hydrangeas in Fall for a Successful Outcome
Hydrangeas are beautiful flowering shrubs that can add a touch of elegance to any garden. However, if your hydrangeas are in the wrong location, or if they have outgrown their space, you may need to transplant them. Transplanting hydrangeas in the fall is the best time to do it, as the plant will have time to establish itself before the cold winter weather sets in.
Here are the steps on how to transplant hydrangeas in the fall:
- Choose the right time. The best time to transplant hydrangeas is in the fall, after the plant has finished blooming and the leaves have started to fall. This gives the plant time to establish itself before the ground freezes.
- Choose the right location. Hydrangeas prefer to grow in partial shade, so choose a location that gets at least some shade during the day. The soil should also be well-drained.
- Prepare the new location. Before you transplant the hydrangea, prepare the new location by digging a hole that is twice as wide and as deep as the root ball of the hydrangea. Fill the hole with a mixture of compost and topsoil.
- Water the hydrangea. Water the hydrangea thoroughly before you transplant it. This will help to loosen the soil and make it easier to remove the plant from the ground.
- Dig up the hydrangea. Use a shovel to dig up the hydrangea, being careful not to damage the roots. Once you have dug up the plant, place it in a wheelbarrow or other container.
- Transplant the hydrangea. Place the hydrangea in the prepared hole and backfill the hole with soil. Tamp down the soil around the plant and water it thoroughly.
- Mulch around the hydrangea. Apply a layer of mulch around the hydrangea, such as bark chips or pine needles. This will help to retain moisture and suppress weeds.
If you're thinking about transplanting your hydrangeas in the fall, you've come to the right place. Here are a few tips to help you get started:
- Choose the right time. The best time to transplant hydrangeas is in the fall, after they have finished flowering and gone dormant. This gives them time to establish their roots before the ground freezes.
- Find a new home. Hydrangeas prefer partial shade, so choose a spot in your yard that gets at least some sunlight in the morning or evening. The soil should be well-drained, but not too sandy.
- Dig a hole. The hole should be about twice the size of the hydrangea's root ball.
- Prune the roots. Use a sharp knife or shears to trim any damaged or dead roots.
- Place the hydrangea in the hole. Make sure the top of the root ball is level with the surrounding soil.
- Backfill the hole. Firmly pack the soil around the hydrangea.
- Water well. Give the hydrangea a thorough watering, making sure to soak the root ball.
- Mulch around the plant. Apply a layer of mulch around the hydrangea, to help retain moisture and suppress weeds.
For more detailed instructions on transplanting hydrangeas in the fall, please visit .
FAQ of transplanting hydrangeas in fall
- Q: What is the best time of year to transplant hydrangeas? A: The best time to transplant hydrangeas is in the fall, when they are dormant. This gives them time to establish their roots before the next growing season. If you live in a cold climate, you may want to transplant hydrangeas in early fall, so that they have time to root before the ground freezes.
- Q: How do I prepare the soil for transplanting hydrangeas? A: Hydrangeas prefer well-drained soil that is rich in organic matter. Before transplanting, amend the soil with compost or manure. You should also dig a hole that is at least twice as wide and as deep as the root ball of the hydrangea.
- Q: How do I transplant hydrangeas? A: To transplant a hydrangea, carefully dig it up with a shovel. Be sure to keep as much of the root ball intact as possible. If the hydrangea is large, you may need to use a tarp or blanket to help you move it. Place the hydrangea in the prepared hole and backfill with soil. Water the hydrangea well and add a layer of mulch around the base.
- Q: How do I care for hydrangeas after transplanting? A: After transplanting, water your hydrangeas deeply and regularly. Mulch around the base of the plant to help retain moisture. You may also want to fertilize your hydrangeas with a balanced fertilizer in the spring. Hydrangeas are relatively low-maintenance plants, but they will thrive with a little care.
- Q: What are some common problems with transplanting hydrangeas?
A: Some common problems with transplanting hydrangeas include:
- Transplant shock: This can occur when the hydrangea is not properly prepared for transplanting or when it is transplanted during hot, dry weather.
- Root rot: This can occur if the hydrangea is planted in poorly-drained soil.
- Pests and diseases: Hydrangeas can be susceptible to a variety of pests and diseases, especially if they are stressed.
Image of transplanting hydrangeas in fall
Here are 5 different images of transplanting hydrangeas in fall from Pinterest:
- Image 1: A person digging up a hydrangea bush with a shovel. The hydrangea is in full bloom, with large pink flowers.

- Image 2: A person watering a newly transplanted hydrangea bush. The bush is still small, but it has healthy green leaves.
- Image 3: A person adding compost to the soil around a hydrangea bush. The compost will help to improve the drainage and fertility of the soil.
- Image 4: A person mulching around a hydrangea bush. The mulch will help to retain moisture in the soil and prevent weeds from growing.
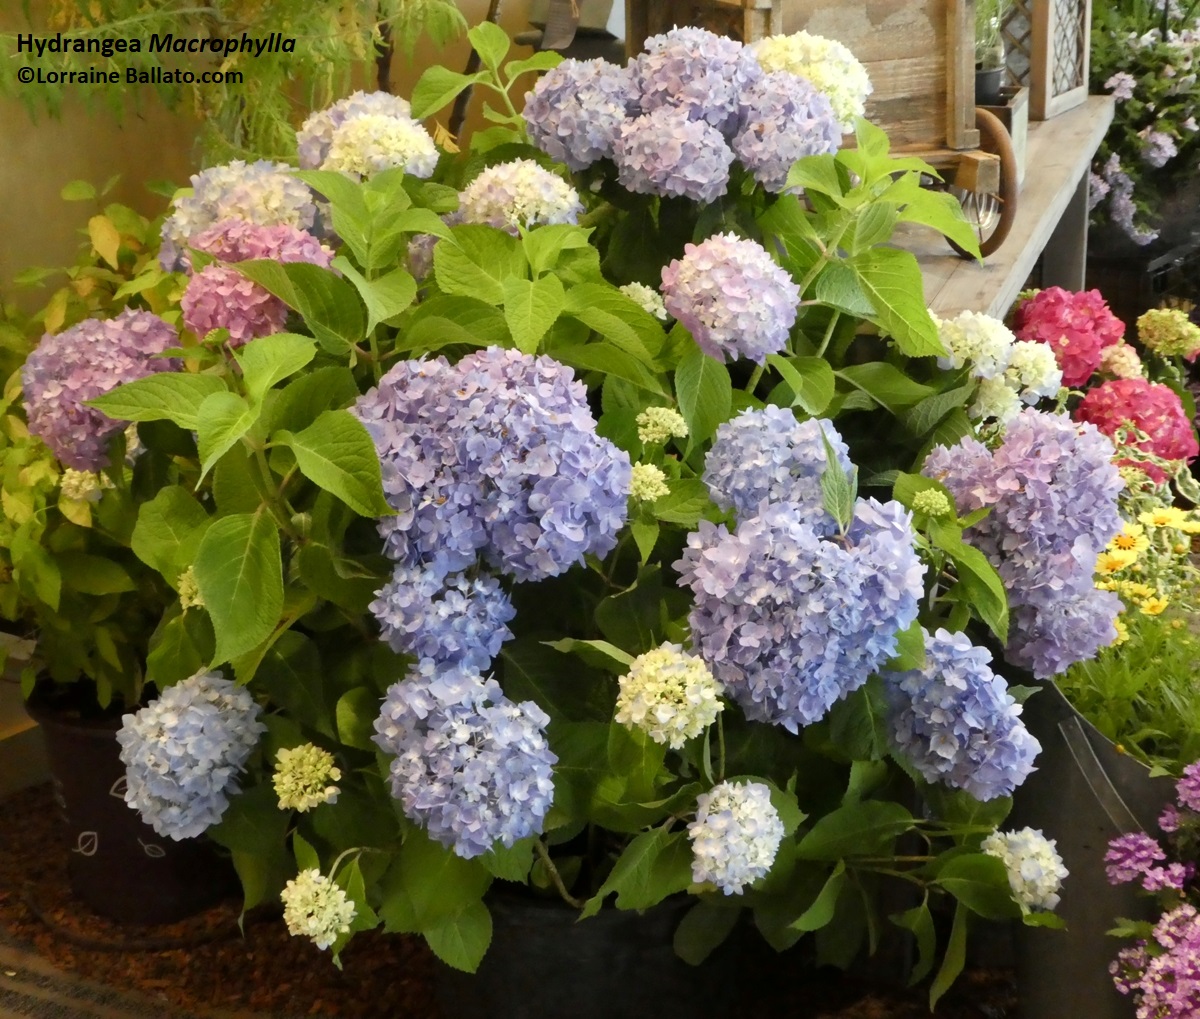
- Image 5: A hydrangea bush in full bloom in the fall. The flowers are a beautiful shade of blue.
Post a Comment for "How To Transplant Hydrangeas In Fall For A Successful"